 Tips and Trick
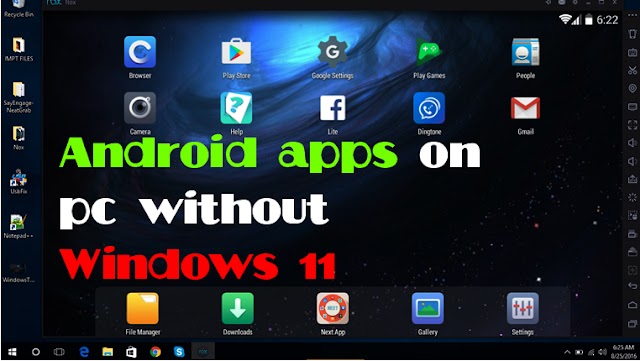
You can run Android apps on your computer even without Windows 11
You can run Android apps on your computer even without Windows 11 Microsoft has launch…

 Tips and Trick
You can run Android apps on your computer even without Windows 11 Microsoft has launch…

Yeah, I just completely remove the background from my photo and now I could do whatever I want with pictures. I could insert it into a Word document, email, and PowerPoint presentation. Or I could even just save it as a PNG and use it wherever I want. I'll show you step by step how you can do it.
I have a photo up on my desktop and I'd like to get rid of this background. I just want to cut out this picture. How do we do that? Well, luckily an app that comes with Windows 10. It will allow us to do this.

Go down to your taskbar and within the search box let's type in paint 3D. We're going to use the Paint 3D app to remove the background. You'll see paint 3D show up as one of the best match options. Let's click on that. This will open up the Paint 3D app. Once the app is open. Let's click on new. This will start a new project and let's take the photo that you want to remove the background from and then simply drag and drop it into paint 3D. Here's my photo. Now in paint 3D and I still have the background showing up in.

Here how do we remove the background? It turns out it's extremely easy to remove the background. we're going to use something called Magic Select and there are two ways to get to magic select. You can either click on magic, select up on the top bar, or when you have the photo selected you can click on magic select over on the right-hand side. I'm going to click on magic select over here. Next, I see a rectangle appear around my photo and I need to drag the corners around the object that I want to remove from the photo. So, I'm going to go down here and I'm going to select a photo from the photo once I've selected only the photo, let's click on the next over on the right-hand side. Check that out.

So, paint 3D has identified me from the background, although it really hasn't done a perfect job, it's pretty close. You can click on remove and then just like we did with add, draw a line over it and that will remove it from the selection. Overall, though, I'm pretty satisfied with the selection and everything that's currently selected is what I want to pull out from this photo. Once you're done adding and removing down below, there's a checkbox that says auto-fill background. What this means is. Once we finish here, it'll fill in the background where I was standing. It's pretty impressive how it does it. However, if I uncheck this, it would simply leave a cut-out or a white background in the back of where I'm standing. I want to auto-fill the background. That sounds neat, so let's now click on done. I clicked on done and it still looks pretty similar. Look at that, I can remove it from that position on the photo and I can place it anywhere else. In fact, I could expand.

I could reduce the size of the photo and here you'll notice the very nice job of filling in the background. I can now use this anywhere I could press control C to copy, or I could press control X if I want to cut. Similarly, I could right-click, and then I can select either of those commands, whether I want to Cut Copy. I'm going to copy for now and where else we can use this photo. So, you can paste this photo wherever you want to use it.

that you want to save the photo, how do you go about doing that? And how do I save just myself without the background? Well, let me copy myself again. I'm going to go up to the menu in the top left-hand corner and click on new, it asks me if I want to save my work. I could click on save as an. I can now save it as an image when I go to save it as an image, I could select the type of file I want to save it as, whether it's a PNG, a JPEG, a gift, or whatever. I want to say. But one thing that's very nice is I could even set it so it has a transparent background.
So, if I want to use this somewhere else, this background will be transparent. Now I can click on save. This opens up the file save dialog, to give it a name and save it.
Isn't that cool? And that's with an app that's free with Windows 10. It's amazing what you can do with all those pre-installed apps on Windows 10. If this article helps show you how you can remove a background from an image, please give this article share on social media. I hope you enjoyed it.


0 Comments